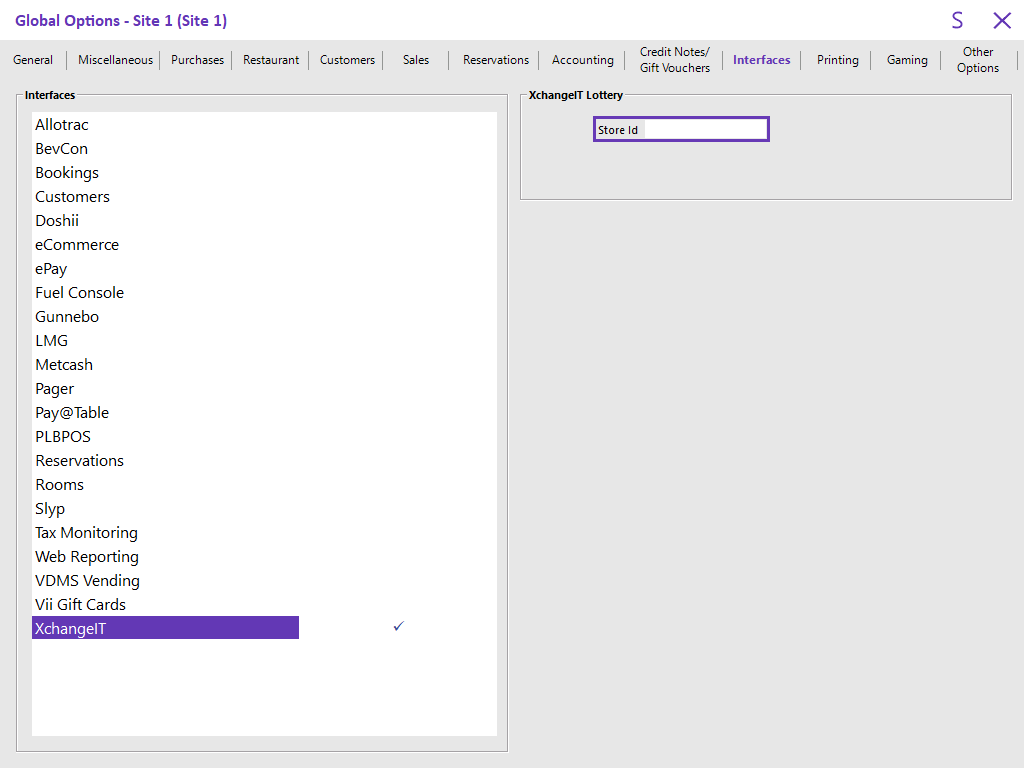
Complete the following steps to configure the XchangeIT Lottery Interface.
The XchangeIT Lottery Interface will need to be enabled in the Licence for each POS Terminal that will utilise this interface.
Contact Idealpos or your Idealpos Reseller to purchase the XchangeIT Lottery module.
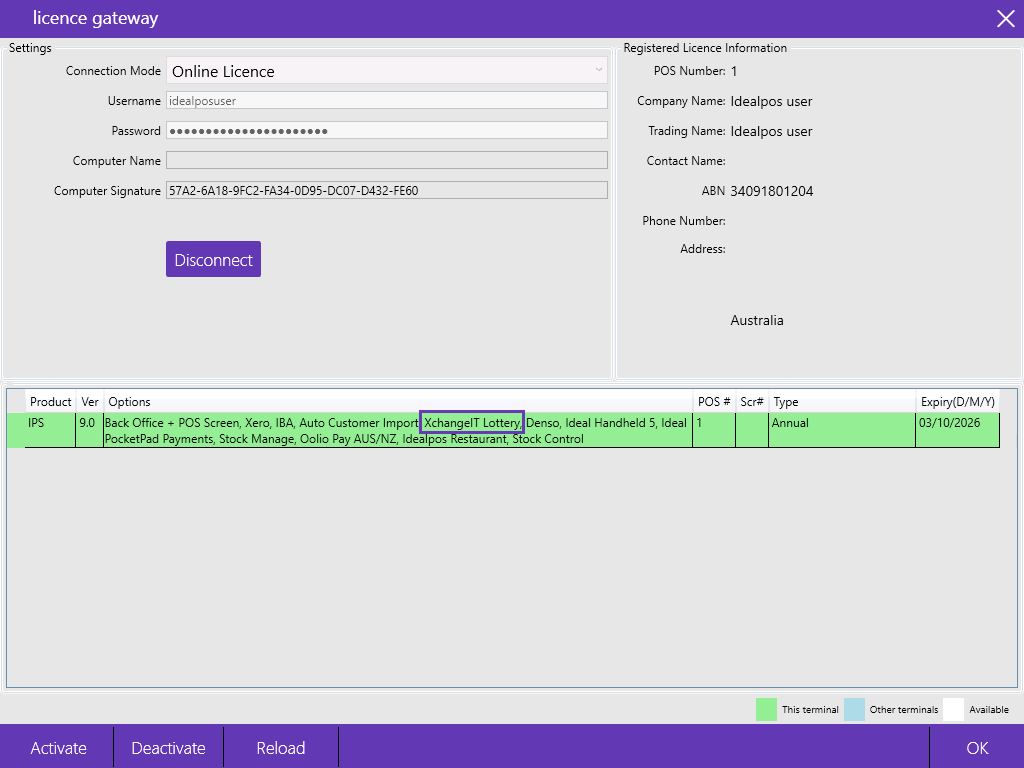
After it has been purchased, go to: Back Office > Setup > Licence Gateway and confirm that the XchangeIT Lottery module appears under Options for each POS Terminal that will utilise the interface.
After completing the above process, perform a Close Suite/Open Suite to apply the changes.
Go to: Windows Start menu > Idealpos > IPSUtils > Close > Confirm by pressing "Yes" > Start Idealpos via the Idealpos desktop shortcut or via Windows Start menu > Idealpos > Idealpos.
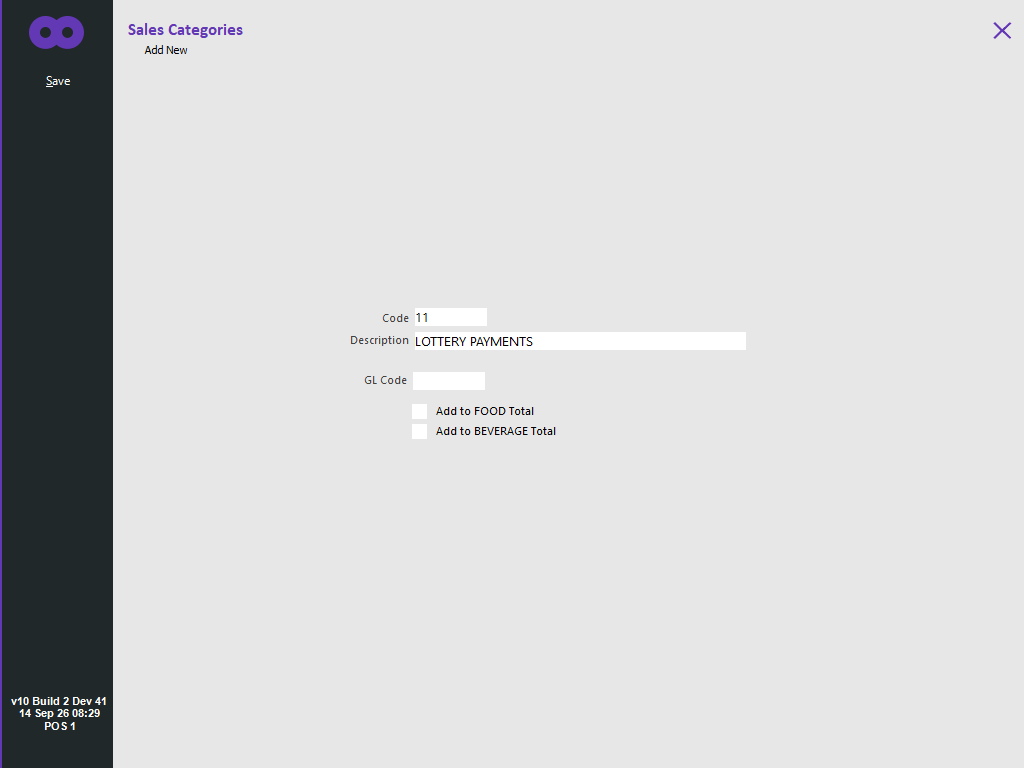
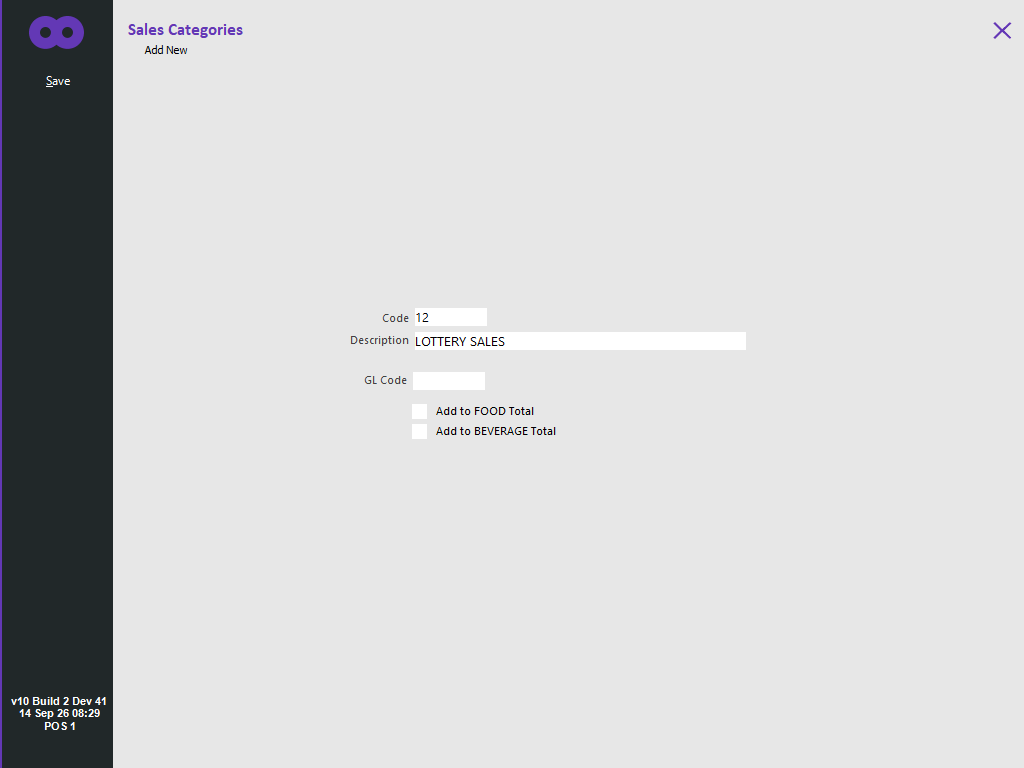
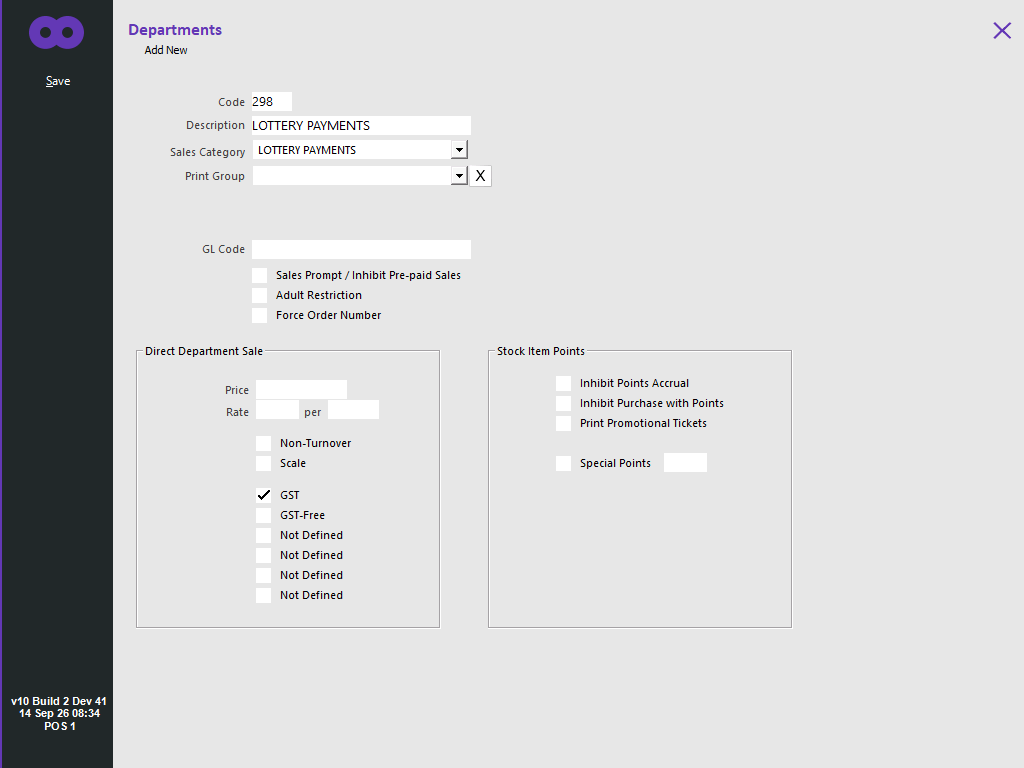
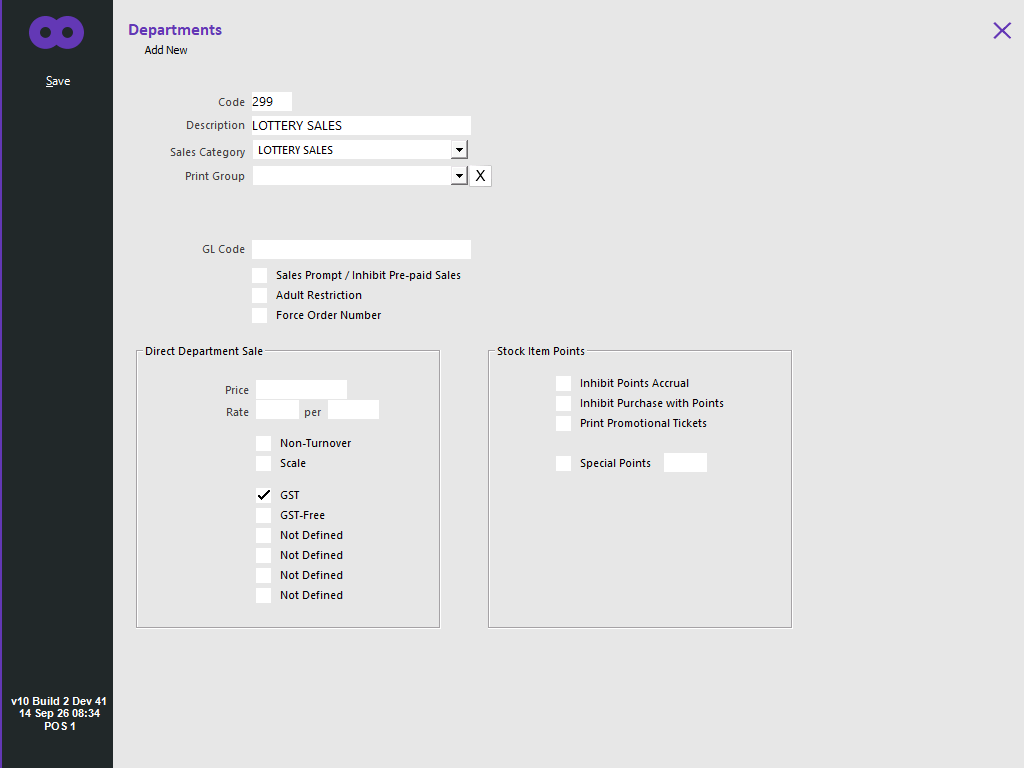
New Departments will need to be created for Lottery Payments and Lottery Sales.
If Sales Categories were created above, ensure that the new Departments are linked to their corresponding Sales Categories that were created above.
Also note the Department Codes used for the new Departments as they will be required to adjust the Lottery Stock Items import file provided below.
For this example, the following Department Codes will be used:
Dept 298 - LOTTERY PAYMENTS
Dept 299 - LOTTERY SALES
Stock Items will need to be imported for the Lottery Products.
Some Stock Item Descriptions in the Import File will vary depending on which state the store is located in.
Download the Stock Import File for the state the store is located in using one of the below links:
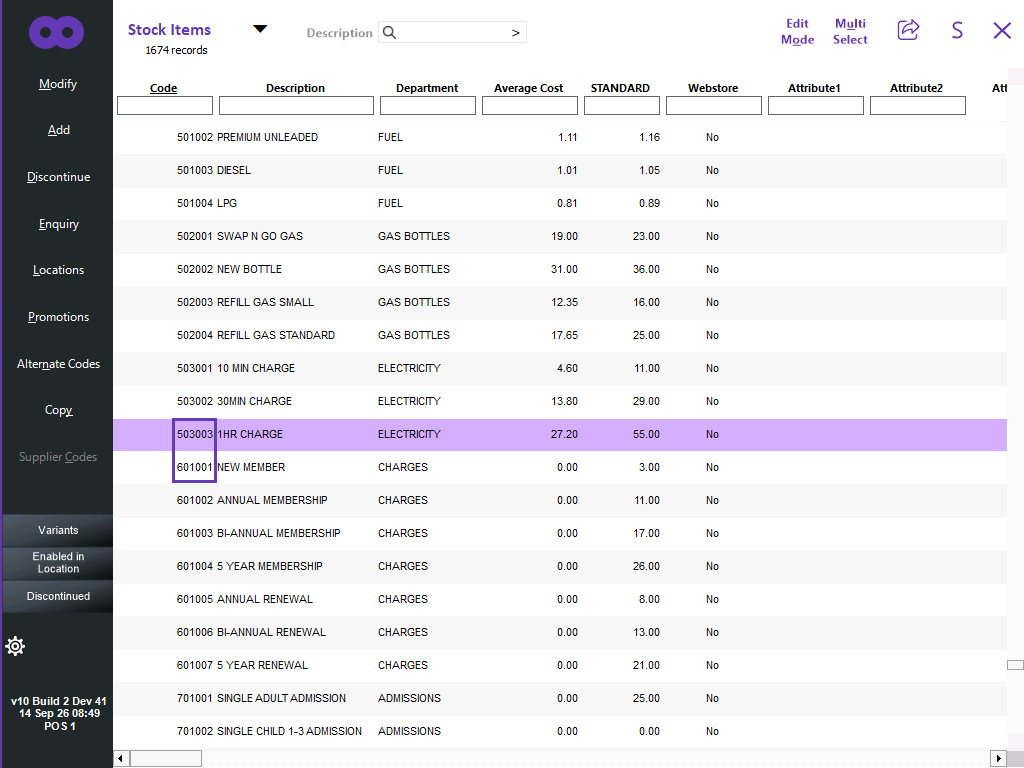
Prior to importing new Stock Items, check for an available block of unused Stock Item Codes so that the Starting Stock Code can be specified in the Import Stock Items screen.
I.e. Back Office > File > Stock Control > Stock Items > click on the Stock Code column header to sort by Stock code > identify the next block of available Stock Item Codes.
To keep Lottery products together in the same Stock Code range (and allow for additional Lottery products to be created in the future in the same range), it may be desirable to choose a starting Stock Code that has a sufficient block of unused Stock Codes.
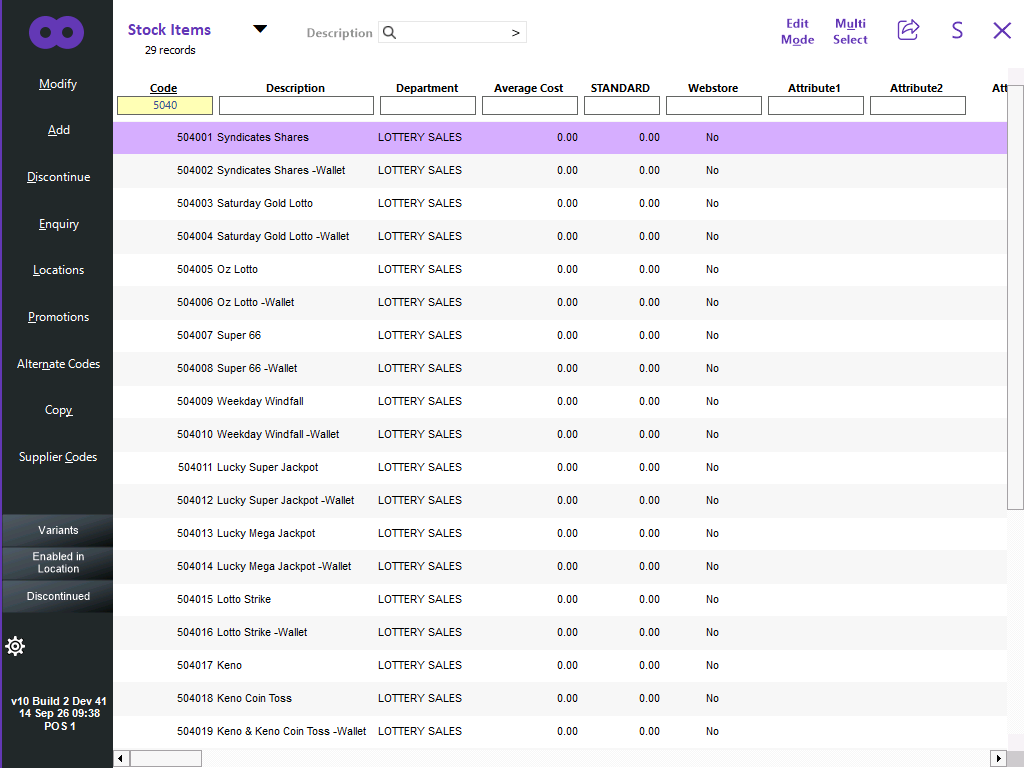
The below example shows unused Stock Codes between 503003 and 601001, therefore, a Starting Stock Code of 504001 can be used when importing the Lottery products.
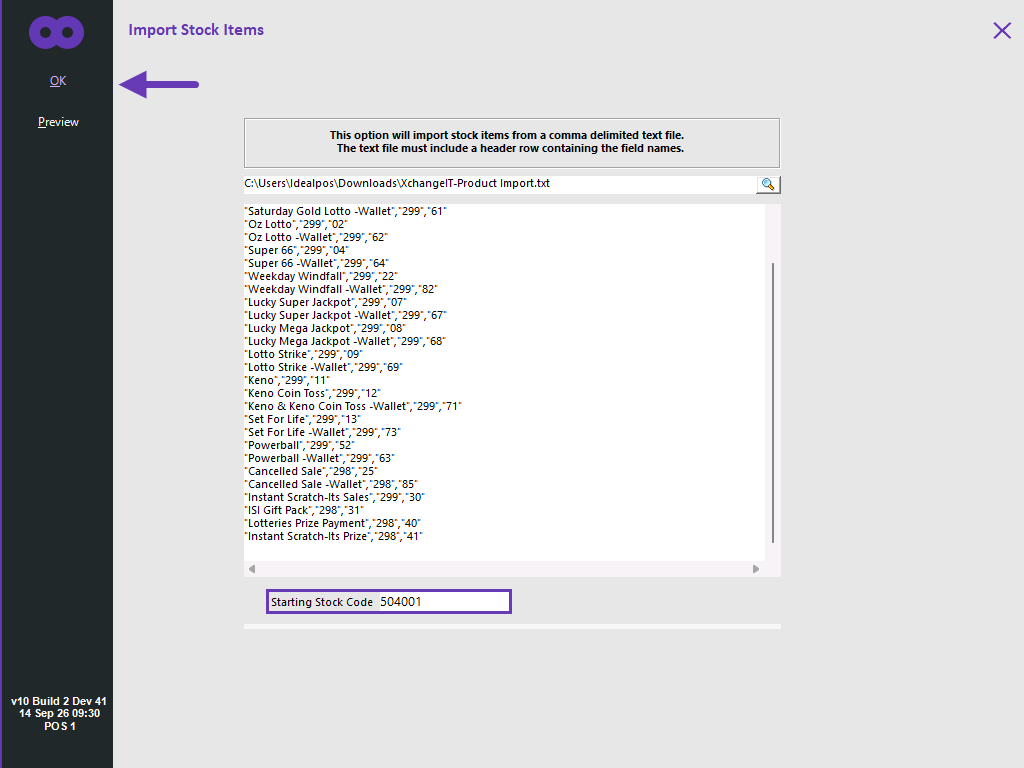
Prior to importing the Lottery products, modify the file and adjust the Department Codes in the file so that they correspond to the Departments that were created above.
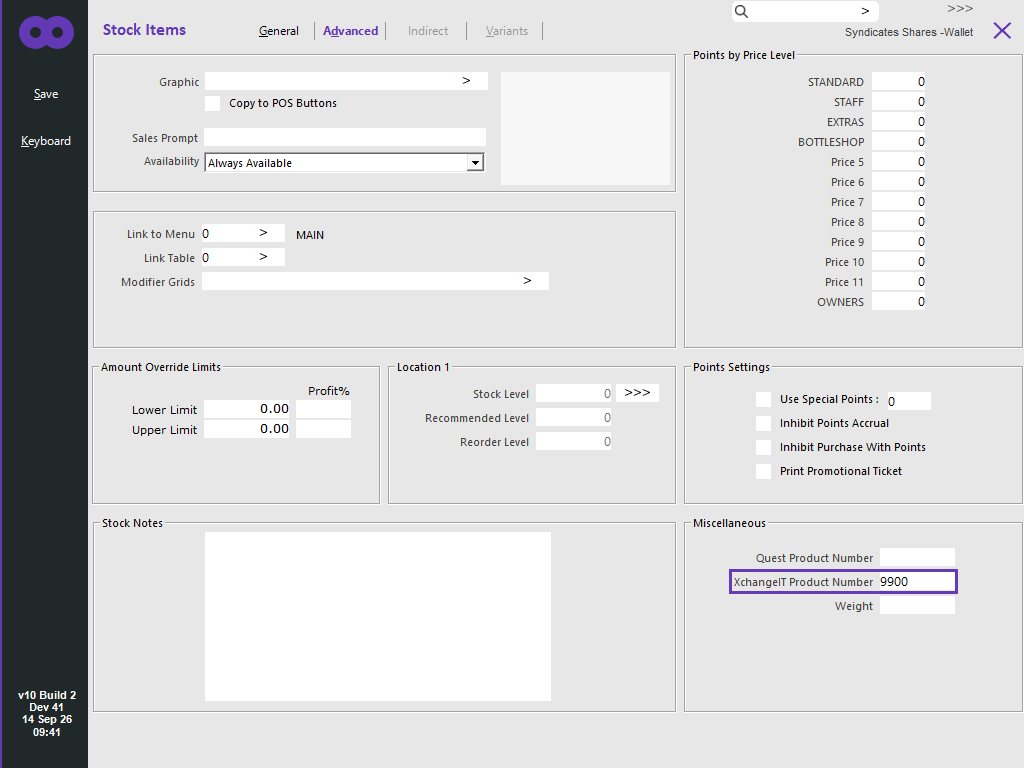
All Product Numbers in the import file will be prepended with "99" into the "XchangeIT Product Number" field in the Stock Item Advanced tab when they're imported.
Go to: Back Office > Utilities > Import Data > Stock Items.
Browse to the folder location that contains the Import File > select the file.
In the Starting Stock Code field, enter the first Stock Code that was established above (e.g. 504001 in the above example) > Press "OK" to import the file.
After the items are imported, a confirmation prompt is displayed > Press "OK".
The new Lottery products will appear in Back Office > File > Stock Control > Stock Items.
When new Lottery products become available, they can be created using one of the following methods:
When manually creating new Lottery products, ensure that the XchangeIT Product Number is entered into the XchangeIT Product Number field in the Stock Item Advanced tab.
When creating new Lottery products, also ensure that they're linked to the correct Department (e.g. LOTTERY SALES or LOTTERY PAYMENTS).
Lottery sales can be brought into Idealpos either by scanning the Lottery slip or they can be brought in by selecting a session in the Lottery message pool.
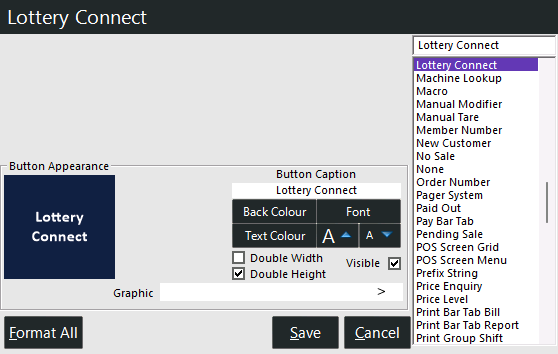
To enable selecting a session in the Lottery message pool, a POS Screen button can be created.
Go to: Back Office > Setup > POS Screen > POS Screen Setup > Select a POS Screen Layout > Buttons > Select a POS screen tab > configure the button as follows: